Hi.
This listing is for a two page layout for a 12 x 12 album that is filled with all kinds of little goodies. It is VERY 3 dimensional. It is created around a dance theme. Whether it be for photos from a recital, or her dancing in the livingroom, it's an adorable page for those photos :) Just a reminder, with my photos, you will be able to click on them and zoom :) That way you can see items up close if you would like to.
The first page has two photo mats. They are both sewn. They have a gorgeous print from K & Company. There are pretty flowers adorning every photo mat. The one on the left has two gold glittery shimmery layered flowers with brad centers. It has a pink grosgrain ribbon running up and down. Your photo will slide easily behind that. Above that is a little ballet recital book. There is the word "love" attached to that ribbon, so you will see this placed over your photo. Below that is the embellishment that I created that reads "Dance" with chipboard letters, matted onto a shabby print, and then matted again onto textured cardstock. The edges have been inked for dimension and for detail in chocolate. There are swirls, rhinestones, flowers, and the leaves are this really pretty texture fabric. Next to that is a 3 dimensional chipboard journal box. The outside is popped off the page with pearls and inking and a flower applique. The part that you write on lays flat to the paper, making it easy to write. Above that is a metal charm with a design that reads "Beauty." The photo mat above that is also sewn, and has this soft feeling scalloped white lace running across. Your photo will slide easily behind that lace also. The flowers at the top are accompanied by a cream crocheted doily. There is also pearls in the center of these flowers and there is a "blingy" flower. If you look at the border at the top (and bottom) they are layered with paper, ribbon and lace. I have then attached shabby buttons all the way across.
On the next set of pages, you have my freehand drawn little ballerinas. The borders at the top and the bottom are the same on both pages. Ont his page, there are two photo mats also. At the top of the first one (on the left) there are gorgeous flowers at the tops, leaves, blingy flower, and a rhinestone jewelry piece. This photo mat also has lace running across (which your photo will slide easily behind). Below that are more flowers, rhinestone jewelry piece, and a vintage feeling dancer charm. On the right is a metal rimmed circle with cream satin ribbon. There are also white feathers on this page. The second photo mat is also sewn, and tucked just enough under the lace border at the top. Your photo will slide easily under that also. Then, there are little flowers, applique style leaf, and swirls too. The top of the photo mat has a metal embellishment that reads "Joy." Below that are one of the main focuses of the page, and that would be the two sweet ballerinas in their HANDMADE tutu's! Yes, I have hand knotted each little piece of tulle, until I created two pink tutu's for the girls. They are standing near the balance bar. They are reaching up. The one girl has a rhinestone style flower in her hair the other has pearls and a flower applique. Did you see their little shoes? Pink ballet shoes with pearls on the side. I had fun drawing these little girls. Their cheeks are rosy pink and they have cute little chubby girl legs :)
There are also painted pearls at the bottom of each page, along the border, inbetween each scallop of the punches.
If you have any questions, please send me a message.
I ship all my layouts inbetween two stiff pieces of cardboard. (after being tissue wrapped, etc.)
Thanks so much,
Emily
Looking for more layouts?
http://www.etsy.com/shop/SweetlyScrappedArt?section_id=7603723 (via http://www.sweetlyscrappedart.blogspot.com)
Pages
▼
Saturday, February 5, 2011
Shabby and Gorgeous Two Page Layout for a by SweetlyScrappedArt
Sleeping Baby Boy Layout for a 12 x 12 Album
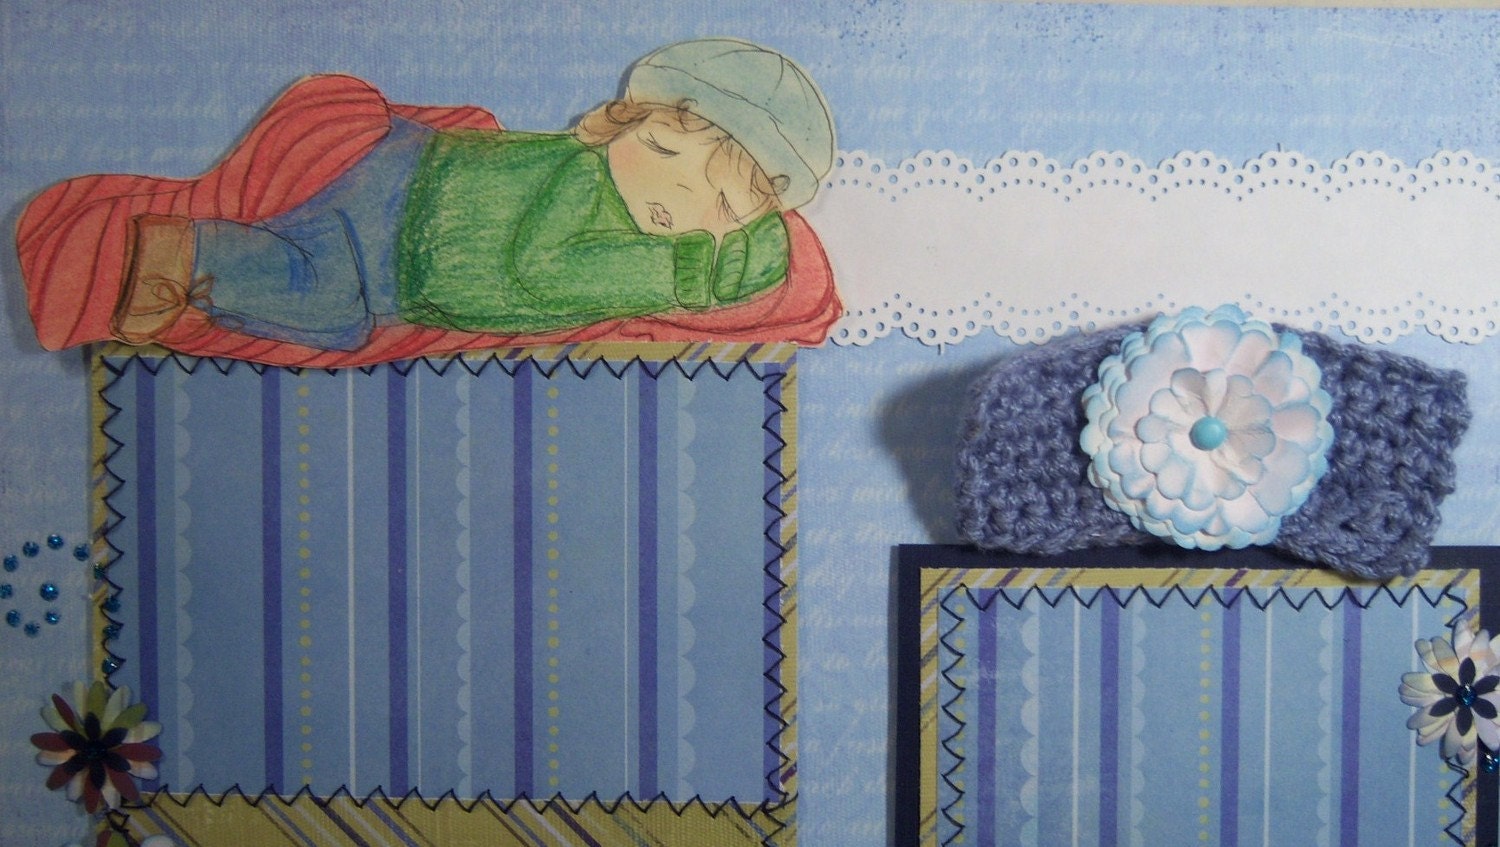
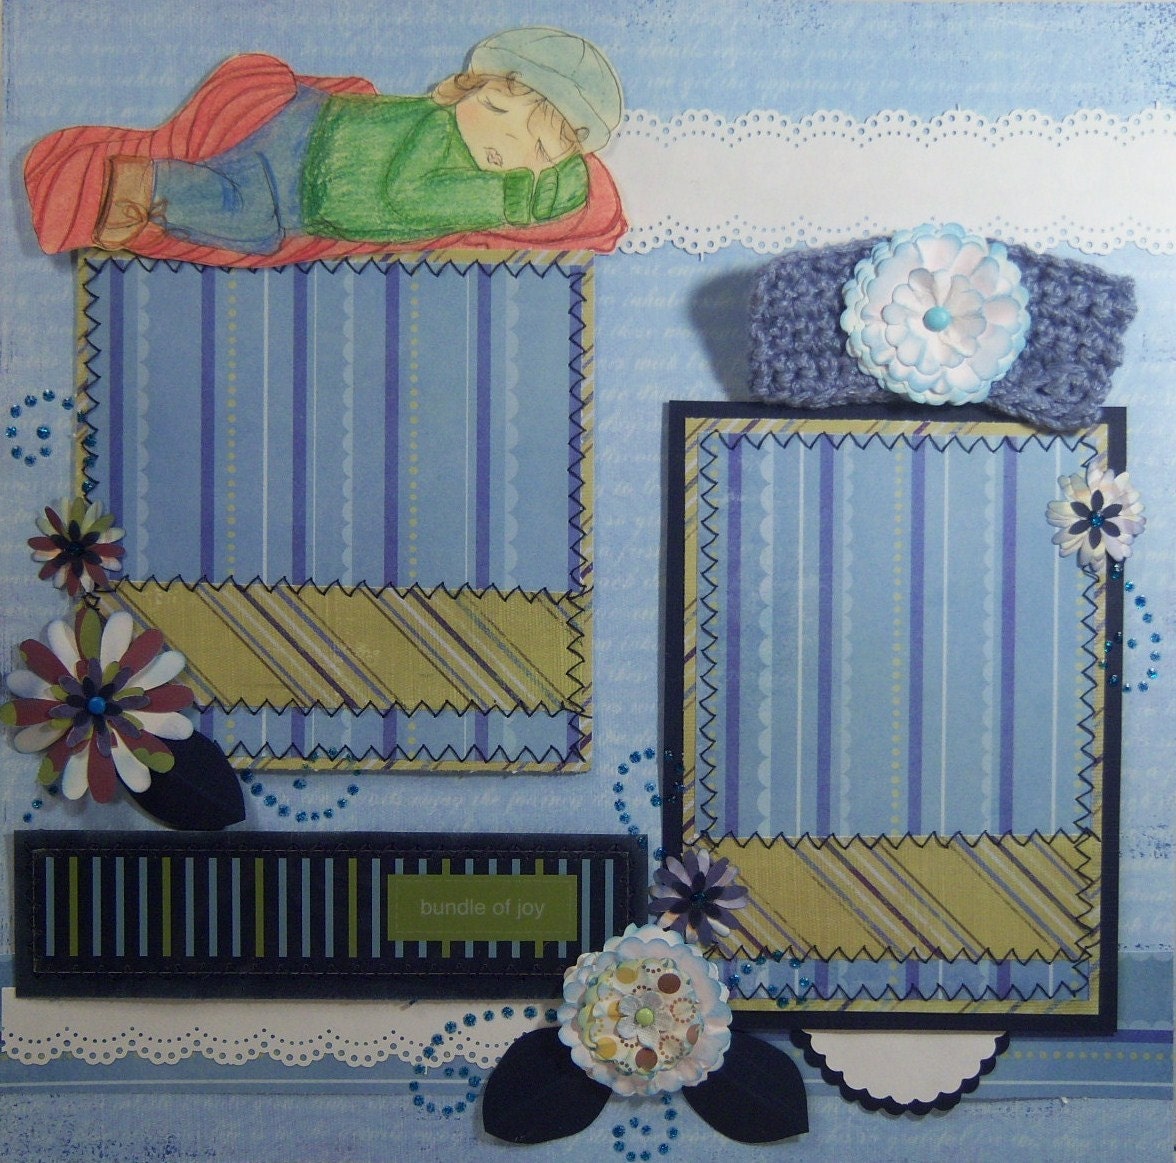
I freehand drew both little babies on this page. First, there are two photo mats. I have sewn both photo mats with a heavy navy blue thread. Next, I sewed the acrylic embellishment at the bottom left that reads "Bundle of Joy." There is a little one sleeping above the first photo mat. He has a little red blanket, and his little cap. Behind the one photo mat is a pull out tag that I have crocheted a topper for (to look like a baby blanket) and then added a flower, tinted with ink in baby blue. I have added other flowers (I create these myself... Emboss & Ink for look) and glitter swirls. I then punched a doily lace border and added it to the top and the bottom for a little detail.
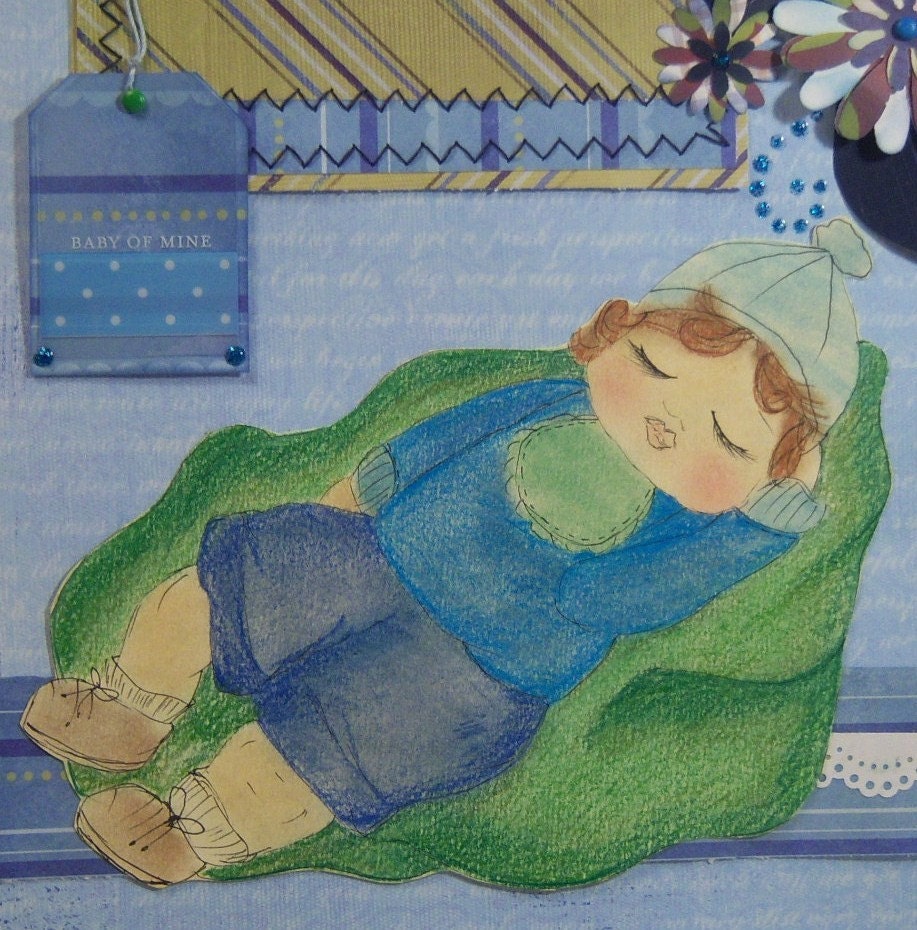
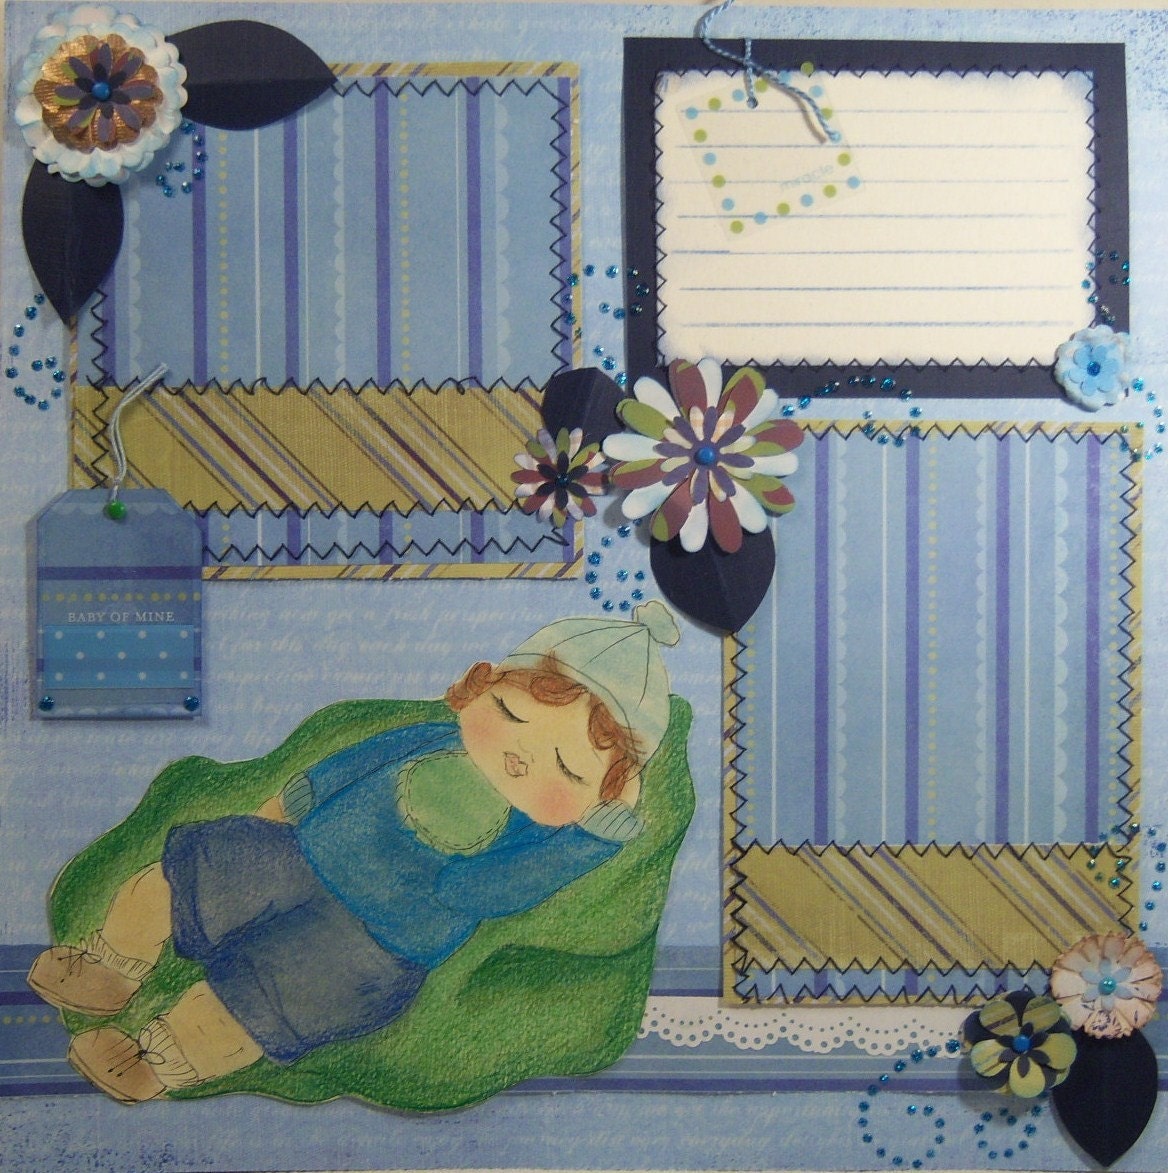
On the second page, is another adorable sleeping baby that I drew who is sleeping on a green blanket. He has chubby little legs, and he has on little booties. Above him to the left, is an acrylic tag, attached to a paper tag, that is permanent there. It does not move :) There is a sewn journaling box on the top right, that has another acrylic tag that reads "Miracle." I have sewn all the photo mats on this page also.
On the second page, is another adorable sleeping baby that I drew who is sleeping on a green blanket. He has chubby little legs, and he has on little booties. Above him to the left, is an acrylic tag, attached to a paper tag, that is permanent there. It does not move :) There is a sewn journaling box on the top right, that has another acrylic tag that reads "Miracle." I have sewn all the photo mats on this page also.
And also, if you have a minute, I would love if you would stop by my facebook page :)
www.Facebook.com/SweetlyScrapped
www.Facebook.com/SweetlyScrapped
And if you would want to see how I listed it on etsy
Tutorial & Giveaway
This is a beautiful set of tags. She has a giveaway, but better yet, she gave a picture tutorial on how to make these gorgeous tags. I can't decide which one that I like better. Maybe you can so you can enter the giveaway also. I have a think for the vintage look, personally, but they are all so beautiful.... here's the link... Click Here :)
Here are a few of her photos... You will have to click the link to see the rest :)
Hope everyone has a happy and safe weekend! I wish you alot of luck on creating similar tags and for the giveaway ;)
Thanks for reading with me.... Emily
Thursday, February 3, 2011
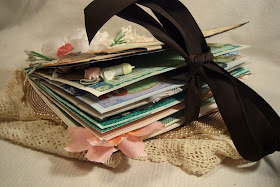
Pregnancy Journal Premade Album....
This is my latest..... I have just finished this tonight and I have it currently listed on etsy. I will show pictures. I wish we could share these photos on etsy, with them so big :) It's so hard to list items sometimes like this, because they require many photos.
Wednesday, February 2, 2011
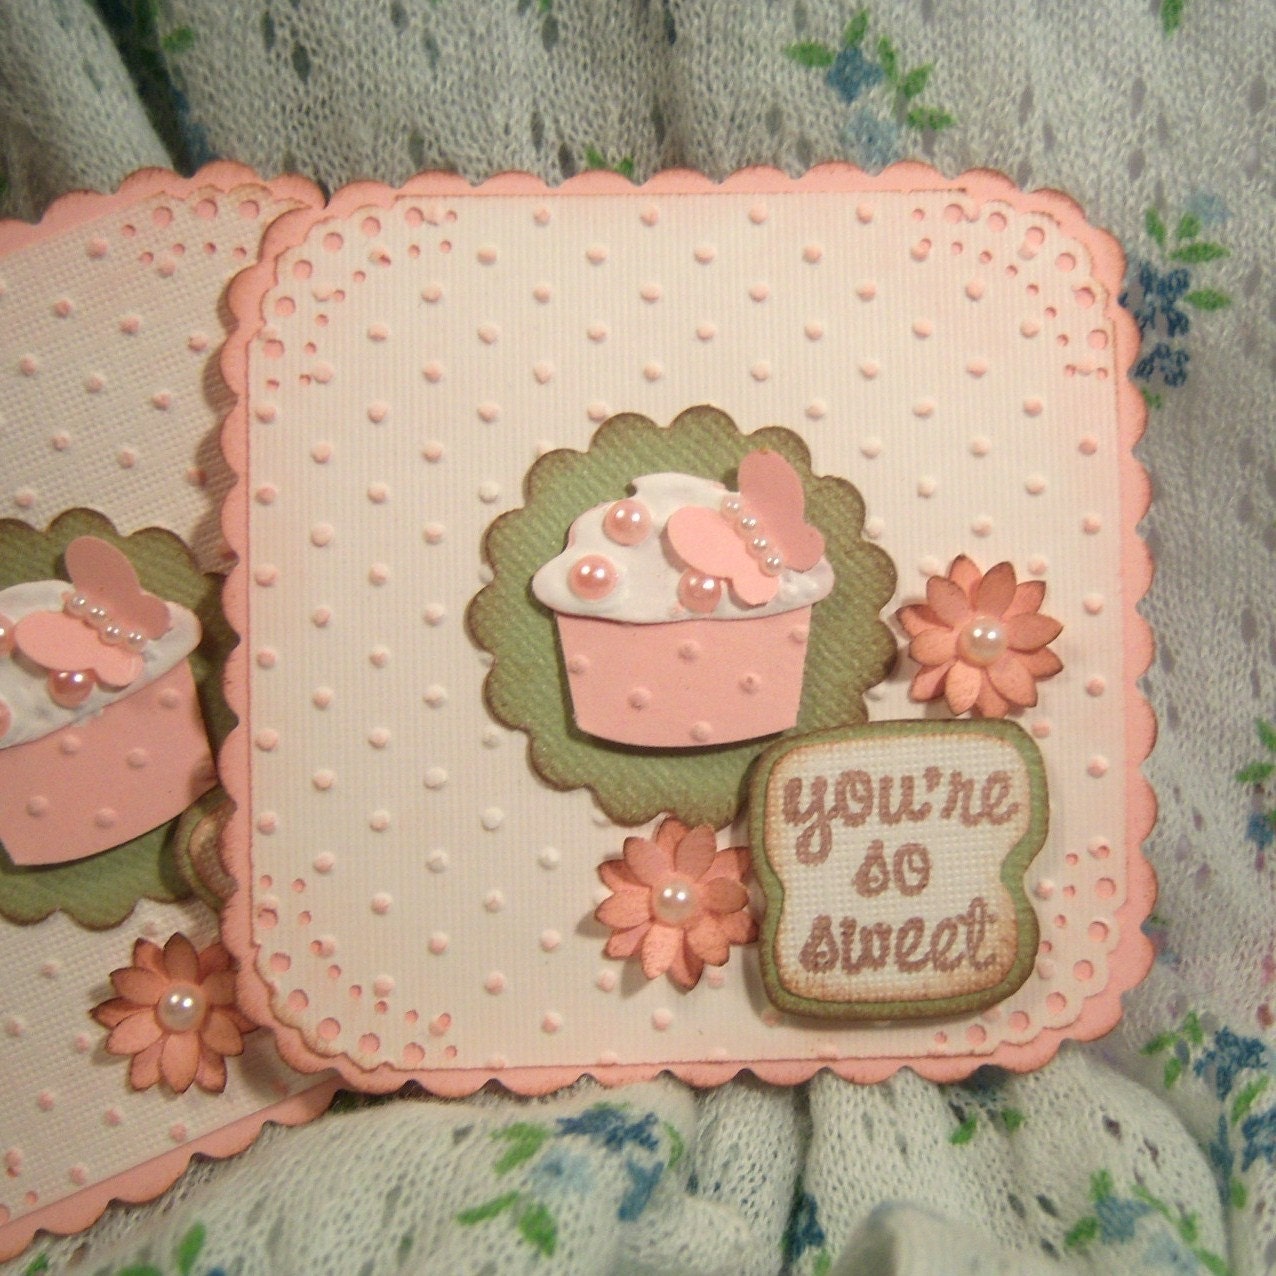
Today I made You're So Sweet Cupcake Embellishments
So today I got busy at the table. I am currently working on a pregnancy journal to list on etsy, but they take time, so I figured I would take a little break and create something small and cute....
So here they are :) This is how I created them....
They measure 3 inches by 3 inches and are double layered cardstock base. Pink then white. I embossed the white with swiss dots. I used my Martha Stewart doily punch for the corners and scalloped the rest of the way around with scissors. I have shaded the edges on everything. In the center of the embellishment, I added a textured green cardstock circle with a 3 dimensional cupcake that I lifted off the paper with a double sided adhesive foam. The cupcake is also a Martha Stewart punch. I frosted the cupcakes with 3 paint that is af/lf and then I added pearls to look like sprinkles and a pink punch butterfly and then I added even smaller pearls sitting on the cupcake. I then stamped "You're so Sweet" on white textured cardstock with the color chocolate and then I layered it onto green cardstock. I added two tiny layered flowers with pearl centers too.
Thanks so much and I hope you are all having a great wednesday :)
Printable Valentine or Anytime SWEET cupcake toppers
I was reading my blog feed and I came across this printable from another blog. The blog is:
The image on their blog.....
Tuesday, February 1, 2011
Spring is in the Air Embellishments
So the other day I broke out the small paper punches. I love making tags, layouts and all those pretty things, but I can create tags forever because once I finish one, I thought of a new design or something else I would like to do, lol. so.... I have made some embellishments. I have listed them all on etsy already. I forgot how much fun they are to make (and you can still turn them into tags if you punch holes and add twine, lol) I have explained how I created them as I went....
They measure 3 inches by 3 inches. The first layer is a white, and I have shaded the edges with a chocolate shade of distressing ink. I then layered a pink swiss dot embossed paper in the center. I then added a yellow scalloped circle in the center and added gold glitter in each scallop. I then placed an umbrella in the center. I stamped the words "Spring is in the air" on a bright cheery crisp green and inked the edges in a similar shade. In the upper corner, I have a 3 dimensional blue butterfly with teeny tiny cute peals down the center. Lastly I have added the purple flower with the blue center, and a lilac colored pearl along with the leaves. Edges have been tinted for dimension and detail. This item is 3 dimensional and items have been popped off the page. These would be wonderful for a scrapbook layout, attach to the front of a giftbag, a basket, an easter hung basket, or if you were to punch holes and create into tags.
If you have any questions or comments, let me know :)
Sunday, January 30, 2011
Crafty Sunday....
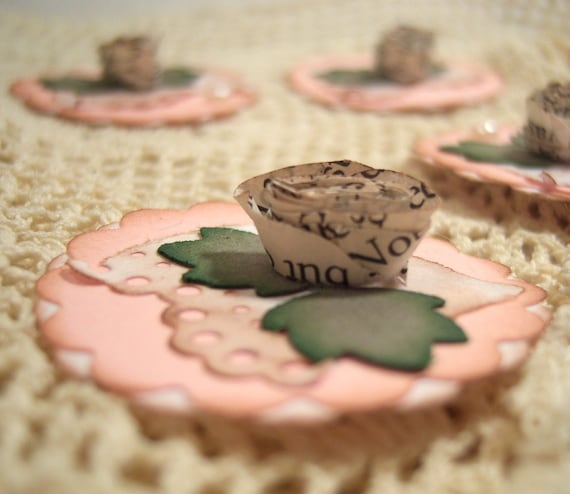
Well, it's the morning and I am drinking my coffee. Looking for something new today. Something I haven't tried before. Different card, layout or even a different technique. If and when I come across something I will be sure to share :) If you have any ideas, please share too. I learned how to make paper roses. Then I figured out a way to to make them tiny so I can use them for my tags, embellishments, etc. They're really simple to make, but make sure you use scrap paper till you get the hang of it. I used book pages, so I had ALOT of those, lol.
For when you start, (you can create different sizes as you get the hang of it), but here's how it goes....
1. Cut out a four inch circle
2. Then you will cut it into a spiral. Then cut the pointy tip off
3. Then you will roll the spiral up really tight.
4 Glue the end to the bottom of the flower.
5. Ink it or leave it plain I inked the edges to make them look vintage for my embellies.
Hope you all are having a wonderful weekend :)
You can use these for anything and add them to anything! They're great & amazingly "durable" considering they are made out of paper. I guess because they are rolled so tight it makes them "tougher." :)
-Emily


