Saturday, February 19, 2011

Mini Brag Book Tutorial Accordian Album with Pictures

Hi! This is a picture tutorial on how to make a mini brag book... I've taken pictures as I went along.... 

This is for a 3" X 4" brag book.... 
First, what we're going to do, is cut a strip of cardstock measuring 4 inches by 12 inches. 


Then you are going to fold that in half.....


Then you fold the first part in half towards the middle, flip it over and do the same.... It should look like a letter "M." I am rounding the corners of my album....


Then you are going to cut out 8 rectangles measure 2 3/4 inches by 3 3/4 inches. I am rounding the corners on my album, so if you are also, then you are going to round them now. 


Then you are going to cut a 24" inch ribbon of your choice to add to the one side of the album....


Glue all the way across the front of the album with your favorite adhesive, and then you are going to place the middle of the ribbon along the glue. 


Add your mini rectangles to the faces of the brag book.


Then you are going to add embellishments! I added layered papers, chipboard and more inside mine. 
 
 I hope you enjoyed! If there is anything you would like to learn, or to watch someone else try first, lol, please ask! I'd love to do this again! :)
 

Thursday, February 17, 2011

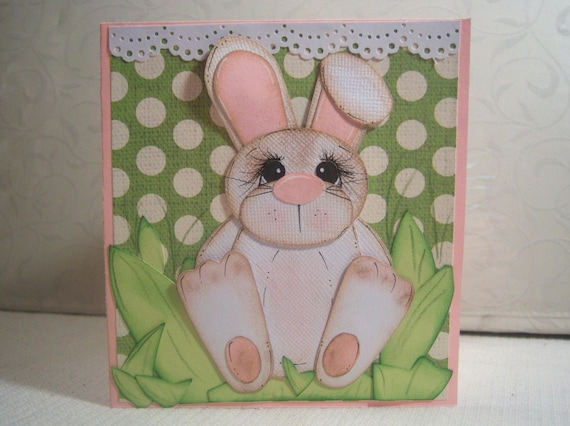
Paper Pieced Bunny Card, Heart Card & Tags

Well, today, we were actually able to open up the windows and "air" out the house a little bit. There's nothing like fresh air in the house & you don't realize how much you miss it until you're all bundled up for the winter (I'm talking plastic... the whole deal). It was just about 50 degrees out today and the kids came home thinking it was summer. lol. 

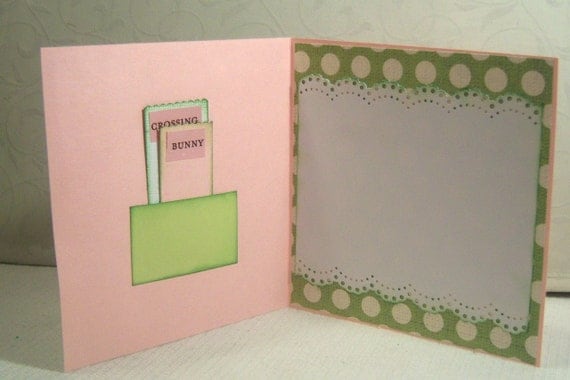
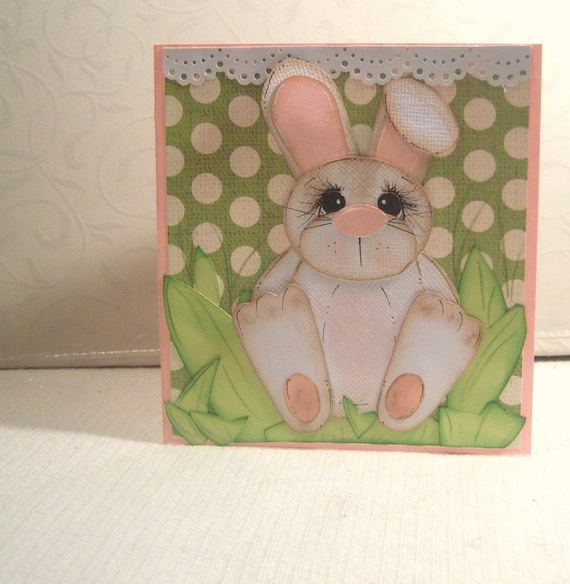
Well in the midst of all this nice weather, I am working on all my spring items now for etsy. I just created a card, which I guess you can say is great for Easter, but I like the bunny because it just reminds me of spring. And of course, there are tags INSIDE the card! I just love tags. I love making them too :) The panel where you write, on the inside, is layered and I punched the top and bottom with doily lace & inked it with a great shade of green. 

The card measures 4 1/2 inches by 4 1/2 inches. 
Bunny Paper Pieced Greeting Card Green Polka Dot Easter with Tags
Vintage Red Heart with Green Damask Background Shabby Inked Blank NotecardAnother card that I have created today HERE
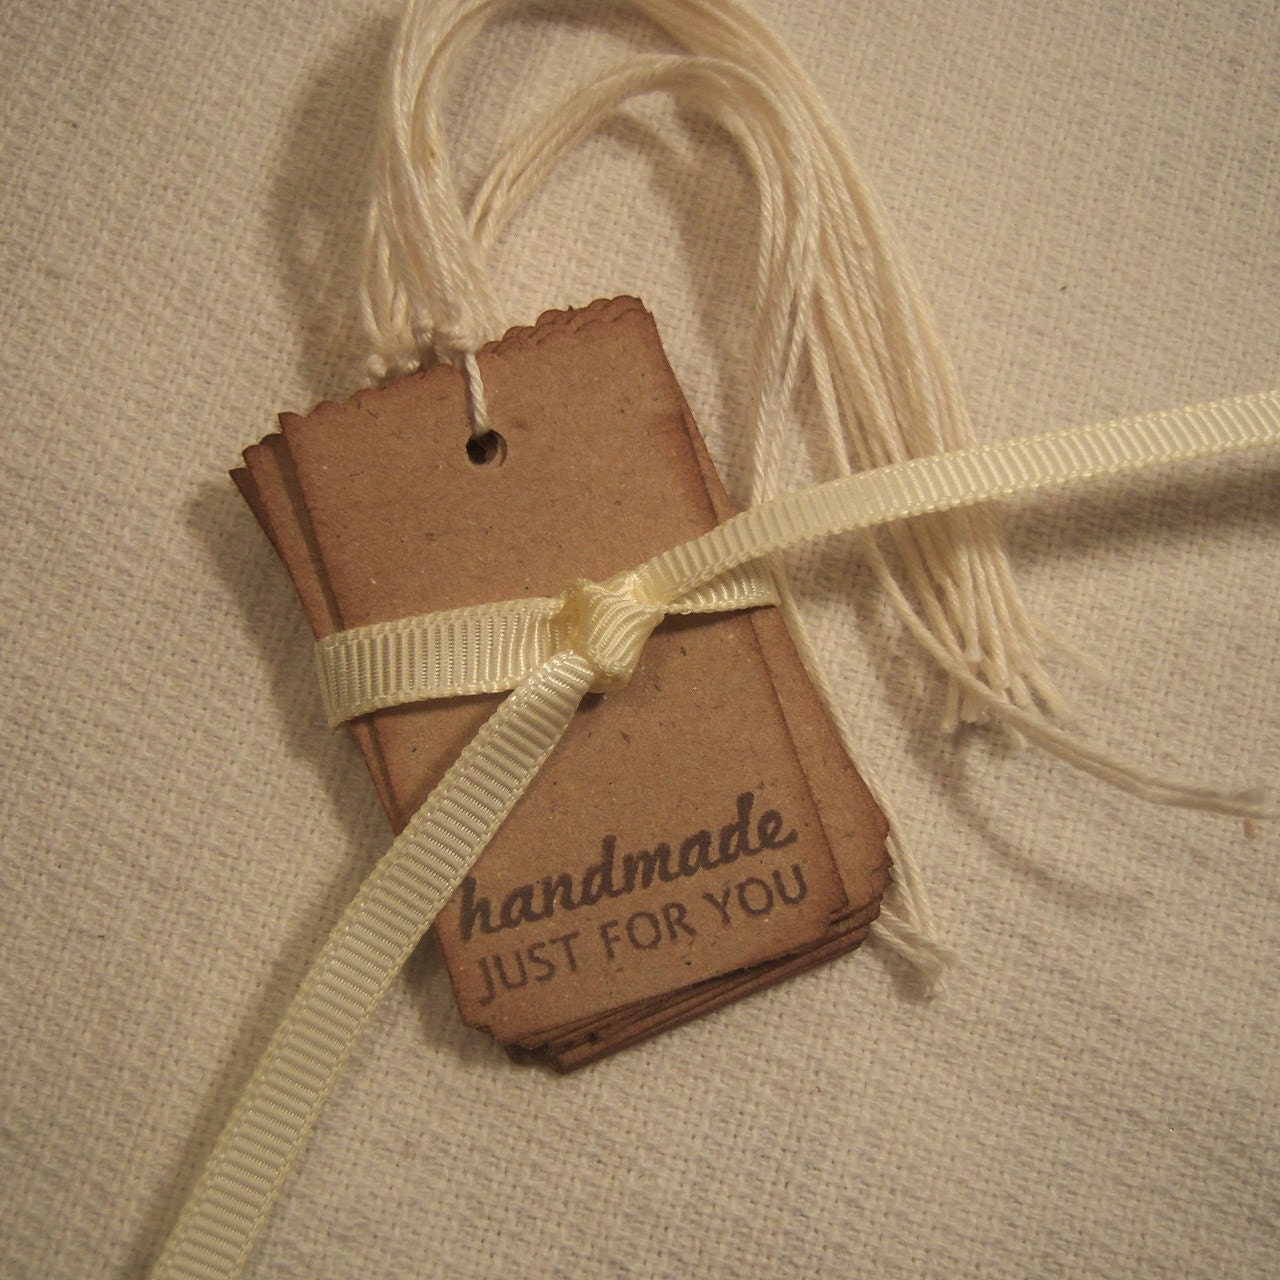
Handmade by hang tags Stamped on Kraft cardstock Here's a great set of tags if you're giving something that is handmade HERE

Hope everyone is enjoying the weather!

Wednesday, February 16, 2011

Flocked Silhouette Hang Tags

Hi! Well, I've had this paper for awhile, and I wasn't quite sure what to do with it. But then today, I was reading and I saw that silhouettes are making a huge comeback in scrapbooking..... so hmmmm.... I broke it out. Here is my finished result. I loved the paper, so I figured I could cut out the images by themselves and create tags.


This listing is for a set of 9 tags. They each measure 2 inches wide by 3 inches tall. I have layered paper to create them & give them a vintage look. First there is a very heavy cardstock, a pretty vintage inspired damask with greens and blues, and then there is the embellishment in the center. There are 9 different images, none are the same. On the images, the part that is the lightest brown, is flocked (meaning very soft and almost fuzzy if you will, like velvety feeling, for those who do not know what flocked means). I have tied bows directly onto the tags, they are not glued, and will not fall off. They are prestrung then with a light dutch blue shade of twine.

-Set of 9 tags
-Each measuring 2" X 3"
-Prestrung with light blue twine
-AF/LF and archival safe
 
If you want to see the etsy listing, how I have it, you can check it out here

Shabby & Vintage Altered Box!

 First, I got out my sand paper and exacto knife. I had to strip down the box. It had this uglyyyyyyyyyyyyyyy print on it! lol. Which made it a great candidate for being revamped! :)
 When I finished stripping it down, this is what I was left with. Pretty ugly too, lol :)
 Finished! YAYE! This is the front view with you look at it.
 More of a top view angle of the box
 The flowers up close. That is a little mini vintage inspired framed Fairy print.
 Vintage jewelry findings
 Jewelry up close... can you imagine how gorgeous this necklace must have been forever ago?!
 Vintage rhinestones up close.
 When you open the box, you can see all the cute things that are permanent on the inside.
 I have sewn a lollipop style flower with a button in the center. All those pieces in the background are hand stained with my tea and coffee mixture. And another jewelry piece hanging from the flower.
 Side view of the box.
 You can see all the texture and distressing.
 I have a little purple showing to show "wear & tear." So very distressed.
 I have used spray glitter paint inside the drawers. They have been "roughed" up.

Well, this box has been alot of fun. I really hope you enjoyed looking at it and if you have any questions or comments, please leave me a little message. Have you done one? I'd love to have you share your link below also :) 
I have pictures on my FB page also... http://www.facebook.com/sweetlyscrapped
Hope you are having a great day!!! 
Emily :)

Monday, February 14, 2011

New Layout "I Love EWE so much" Great for spring pictures!

 Hand drawn and paper pieced little ewe. I love making these little lambs! 


There is a total of 5 photo mats on this layout. And the double sided pull out tag behind the 2nd photo mat on the right page (with the flowers) you can add two more (or use to journal). There is a little bird charm, tags, and on the first photo mat on the second page, there is a pocket at the bottom. There are 3 pull out tags tucked inside. 

This is a 12 x 12 layout. 
Hope everyone had a wonderful Valentine's Day and a GREAT Monday :)

Free Scrapbook Templates that I've done

Hi! Well, I've been playing around with these templates for myself, and I figured why not share :) If not anything else, they will spark some creativity.  The first one is for a single page layout and the other is a double (two page) layout.....