Thursday, July 14, 2011

My Butterfly Tags are in this treasury!

I got to thinking this morning that with these Etsy Treasuries, these wonderful and driven sellers are creating them for attention so why not show off their treasury making skills (yes, this one has my tags in it, lol) and highlight them with my blog?! :)

So this morning I was notified that I was featured in another treasury with my scalloped circle tags with my tiffany blue butterflies. Woot Woot! :) They of course, are hand aged.... Anyways. Here's the sweet little treasury :)

Click on this link HERE if you would like to see it on etsy :) 

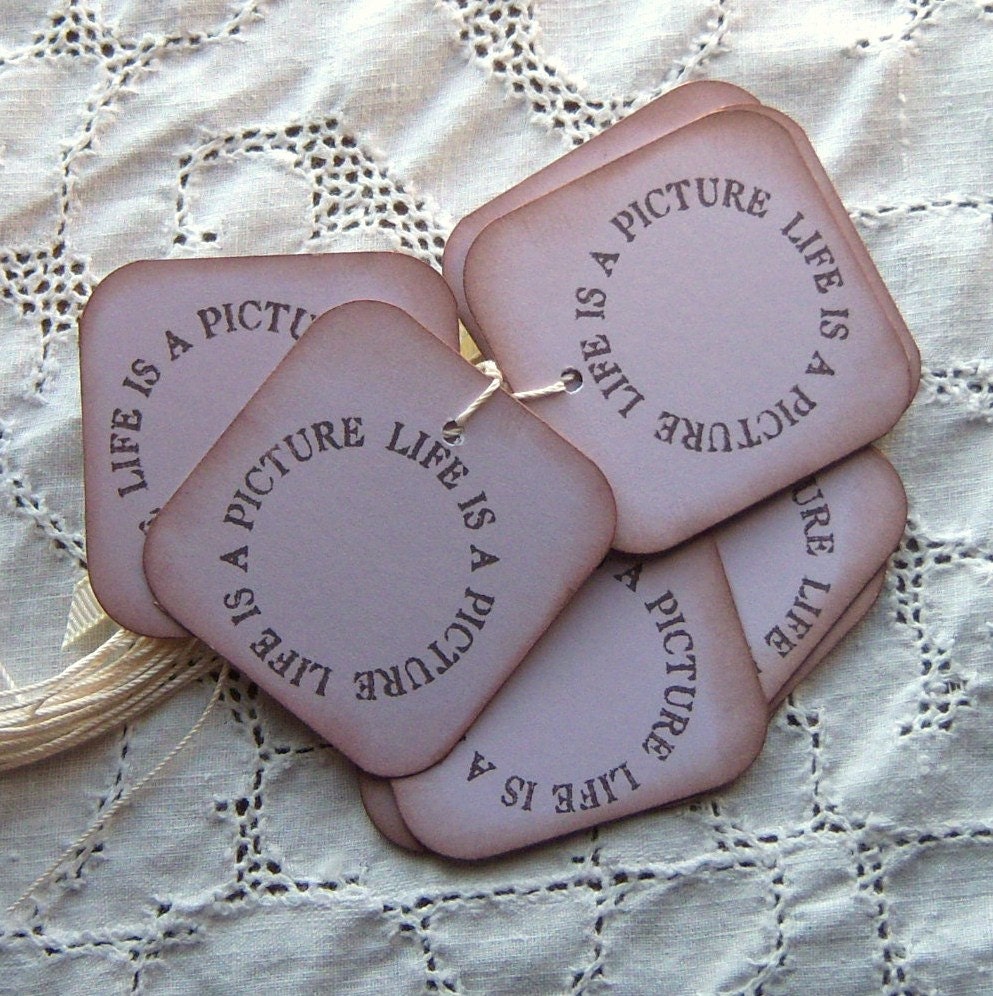
And I'm also HERE Life is a Picture - Vintage inspired hang tags - Lavender Purple 
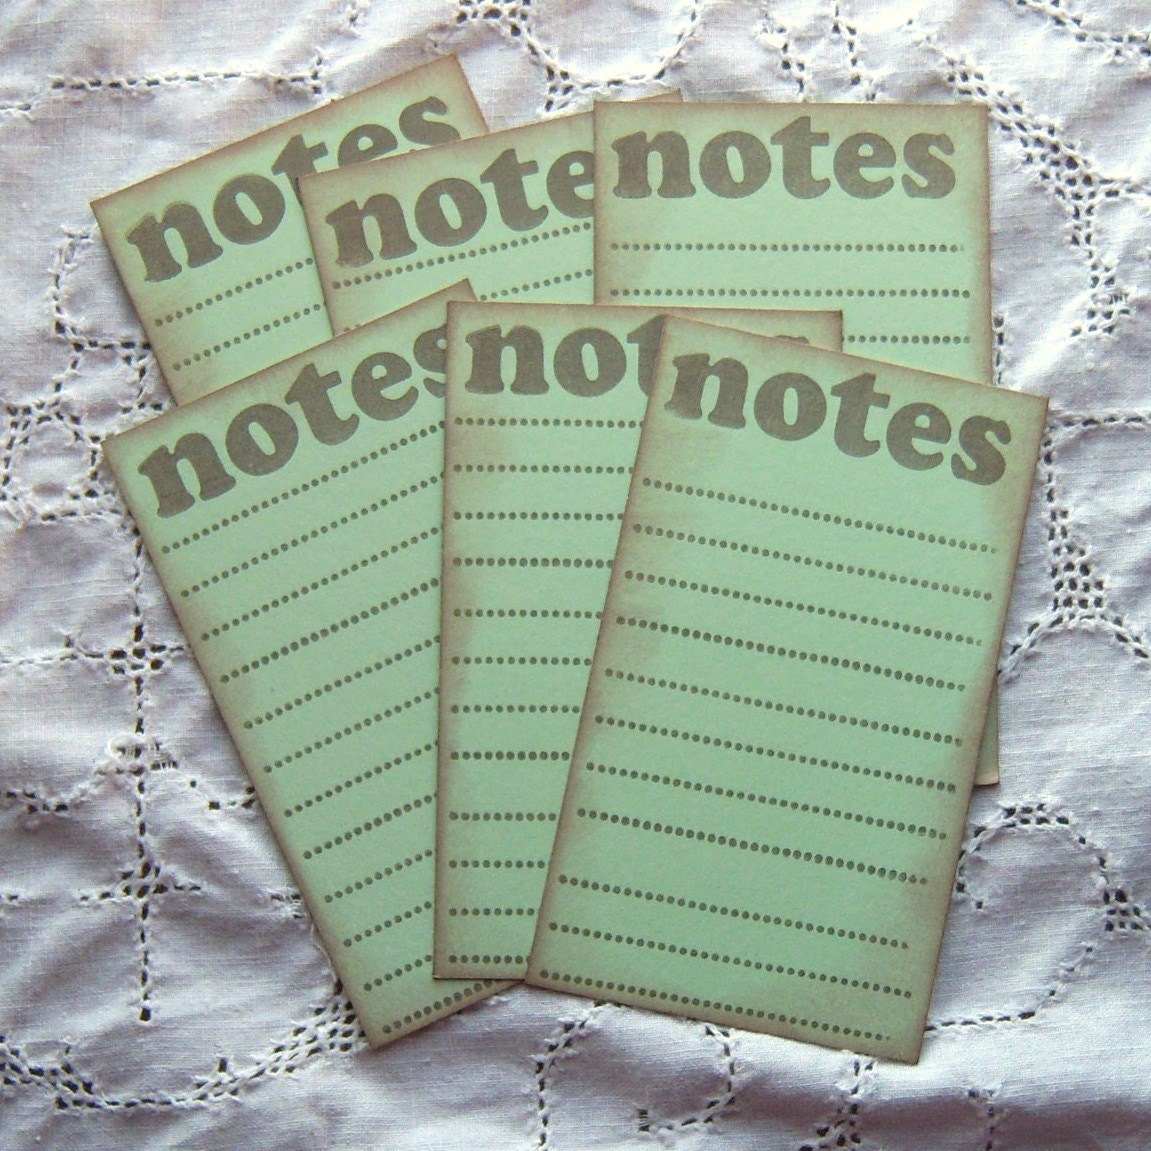
and HERE NOTES Lined Journaling Cards Mint Green and Brown - Vintage inspired

It's been a very exciting Etsy Day! :) 


Happy Handmade Love Goin' Around! :)
Emily
XOXO

Printable Vintage Inspired Dresses

No jibber jab tonight, lol, it's really late and I am off to bed! Wanted to share these first though :) 

Sweet dreams! I'll be dreaming of ways I can use these dresses tomorrow!
Tags, Cards, Scrapbooking and more :) 


Click to download


Nitey Nite!
Emily
XO

Wednesday, July 13, 2011

Printable Memories Journaling Card

Well I am sitting here, taking a break from an order and decided to play around on the pc while the family has the tv all to themselves watching a movie. A subway train is being hijacked. lol. That's all I know as I am busy on the computer. Well, I decided to create a journaling card as I've been wanting to make some new ones. Here is a freebie for you! :) It's done with black and white, but you can always print it out on colored cardstock if you want some color. The journaling card measures 2.75 x 4 inches.


Emily
XOXO

Pin It

DIY Blog Sidebar with Pictures

Okay, as promised I am going to do a photo tutorial on how to add a blog side bar set. 

First go into your "design" section of your blog..... 

Then you are going to click on add gadget....


Then you choose the option to add a picture...


A box will pop up that looks like this...

click on choose file and click image you are using on your side bar


And that is how you add a photo to your side bar. If you want to link that image to something, like let's say facebook, then you will do the following steps...


Then where it says "link" you will add the link (if you'd like to)
It will look like this....


Then you will choose save.... 


And then you will choose save at the top of the main page too!


So go and design your sidebar! Hope this helps!!! 

Thanks! 
Emily
XOXO

Tuesday, July 12, 2011

New tags, journaling cards and place cards in the shop

 I love these collage tags. They're great for so much. You can use these as embellishments on layouts, tags for gift wrapping and more. And since there is a variety, you can use them for any occasion.... 

 Life is a picture..... isn't it though?! Our minds take mental photographs that stay with us forever. Good or bad, they shape who we are.
 What a cute little way to jot down thoughts! 
 These are chandelier placecards. They are vintage inspired and I hand aged on each side with espresso ink
 And I always have these laying around..... I end up picking them up for so many things. Filling that empty space on a layout or a card, or writing something on the back and tucking into an envelope. I will also punch a hole and add twine if I need a quick tag..... 

Thought I would share the latest goodies with you all ;)
Emily
XOXO

DIY Printable Paper Take out Containers

Well, I did the fortune cookie template and design yesterday and I got to thinking, derrrrr, you need the take out container too! lol. So I decided to upload mine to the blog today. These are cute for anything. And I mean anything! Weddings, birthdays, when school finally starts up again you can do these for parties, etc. 

I uploaded the plain pattern, and then I've added some prints too! So you can either print out the template and cut out your own paper, or you can simply print out the designs that I have offered. 

Here's the basic template.....

Click on photo to download


And here's some printed and designed boxes for you to print out :) 


Monday, July 11, 2011

Have to tell you about BerryBleu!!!

Well, my writing skills aren't as good or played with as much as my crafting skills, but let's see if I can do this. I wanted to tell you about a great blog called Berry71Bleu. First off, her name is Marivic and she has an up and coming blog that is filled with wonderful ideas! She has guest designers {{clears throat}}- I'm one of them, for July. What's really nice about her blog besides all the eye candy, is the fact that there are alot of things that you can do as they come from well known and reputable companies. It's putting them together that's the hard part & she's got that. Besides her wonderful 3 dimensional tags that are all her own! My point being, there's something for everyone, from the novice paper player to the expert paper crafter, you will not leave her blog without an idea. So go check her out HERE and let her know that I sent ya!

[bw.jpg.bmp]
Her blog (picture is clickable!) and then here's Marivic

and to give some ideas of what she has..........
And do you want to see what I made for being the guest designer?! I hope so..... Here ya go...


So go check her out! Hope you are having a great night! 
Emily

Sunday, July 10, 2011

Free Public Domain Images

I was searching for something specific, but I came across some of these that I thought I would share :)

They're all public domain images. Pre- 1923 (most of them are even older anyways)

See one that you like? Click on it, then right click and choose "Save as".... You know the drill :)


How to make paper fortune cookies!

Fortune Cookie Image
Make your own PAPER fortune cookies! :) 

1. Decide what paper you would like to use to create your fortune cookies. Choose a paper to match your theme if you are having one. If not, any will do :)

2. Cut your paper into a perfect circle. You can use any round item as a template. I always use bowls, or small plates. Also, make sure you remember that the size of your template will determine the size of your cookie.

3. Now place your paper on the table (if you are using a print, place the print facing down, so you only see the plain side). Place your little fortune down in the center before you start folding. 

4. Now fold your paper circle in half. Do NOT make a hard crease, just enough to fold over. Add adhesive to keep the edges together

5. Now take the outer edges and meet them together the same way as when you folded it in half. Now add adhesive to attach the outer edges together. Glue dots or double sided tape would probably work best as you won't have to wait for them to dry :) Remember, no hard creases in any of this :) 
Wallah! You have a little fortune cookie! YAYE! Now you can give little message. These would be adorable for a party too! 

Here are some 3 inch circles. Click to download..... 


Here are some printable sayings....
You can make up your own :)


If you make any, be sure to share! I'd love to see :)
Emily
XOXO