Saturday, January 15, 2011
Friday, January 14, 2011
How to make grungy primitive tags :)
Your materials list.....
Cardstock
Strong Brewed coffee
vanilla extract
cotton string
scissors or a paper cutter (whatever you like better)
sponges or large cotton like balls
cookie sheet
hole puncher
and reinforcement labels
wax paper
Your directions.....
First, you will cut your tags to exactly how you would like them. You can round off the tops, or you can leave them straight across. Then you will punch a hole at the top and add your reinforcement. You can even find these at the dollar store. If you add the reinforcement holes first, it's alot easier, because it acts like a guide. And that way they always line up :)
Then you will cut your strings as long as you will need them to be. Long, short, your choice. You can use alot of materials for this. String, jute, twine, fabric strips, etc.
Then you make a really really strong cup of coffee. Make it double or triple even. Then you will add 2 tbsp of vanilla extract. Make sure that your cookie sheet is lined with wax paper. Otherwise, when you bake, it will leave not so pretty spots on your paper.
Dip each tag into the coffee mixture. Then lay them flat onto the cookie sheet. One at a time. Fill the cookie sheet. Then you will bake for about 15 or 20 minutes at 250 to 275 degrees. The edges will curl a little bit naturally. They will flatten slightly afterwards. You can put them inbetween books later if you would like them to be completely flat.
Make sure that you watch your tags in the oven. Don't let them go too long. You don't want the fireman to think you are crazy when you tell them that you were baking paper :) lol.
Thursday, January 13, 2011
Make your own, do it yourself embossing ink ;)
It's pretty cheap and pretty easy...
Any color that you like of Powdered Clothes Dye (Rit for example)
1/4 Teaspoon of Alcohol
5 Tablespoons Glycerin
Stamp pad
Be careful and blend alcohol & dye till it is the same consistency of a thin cream. Start with 1/2 tsp of dye and then continue adding only 1/8 teaspoon at a time till is the same consistency of a thin cream.
Then you can add glycerin. Make sure you blend well. After that, pour (homemade or storebought) ink over your stamp pad or you can use a fine foam rubber pad. Spread the ink evenly with a brush, popsicle stick, etc.
Some more ideas....
If you want to use smaller sponges as ink pads, you can simply cut compressed sponges into narrow strips while they're dry and then you can add the ink.
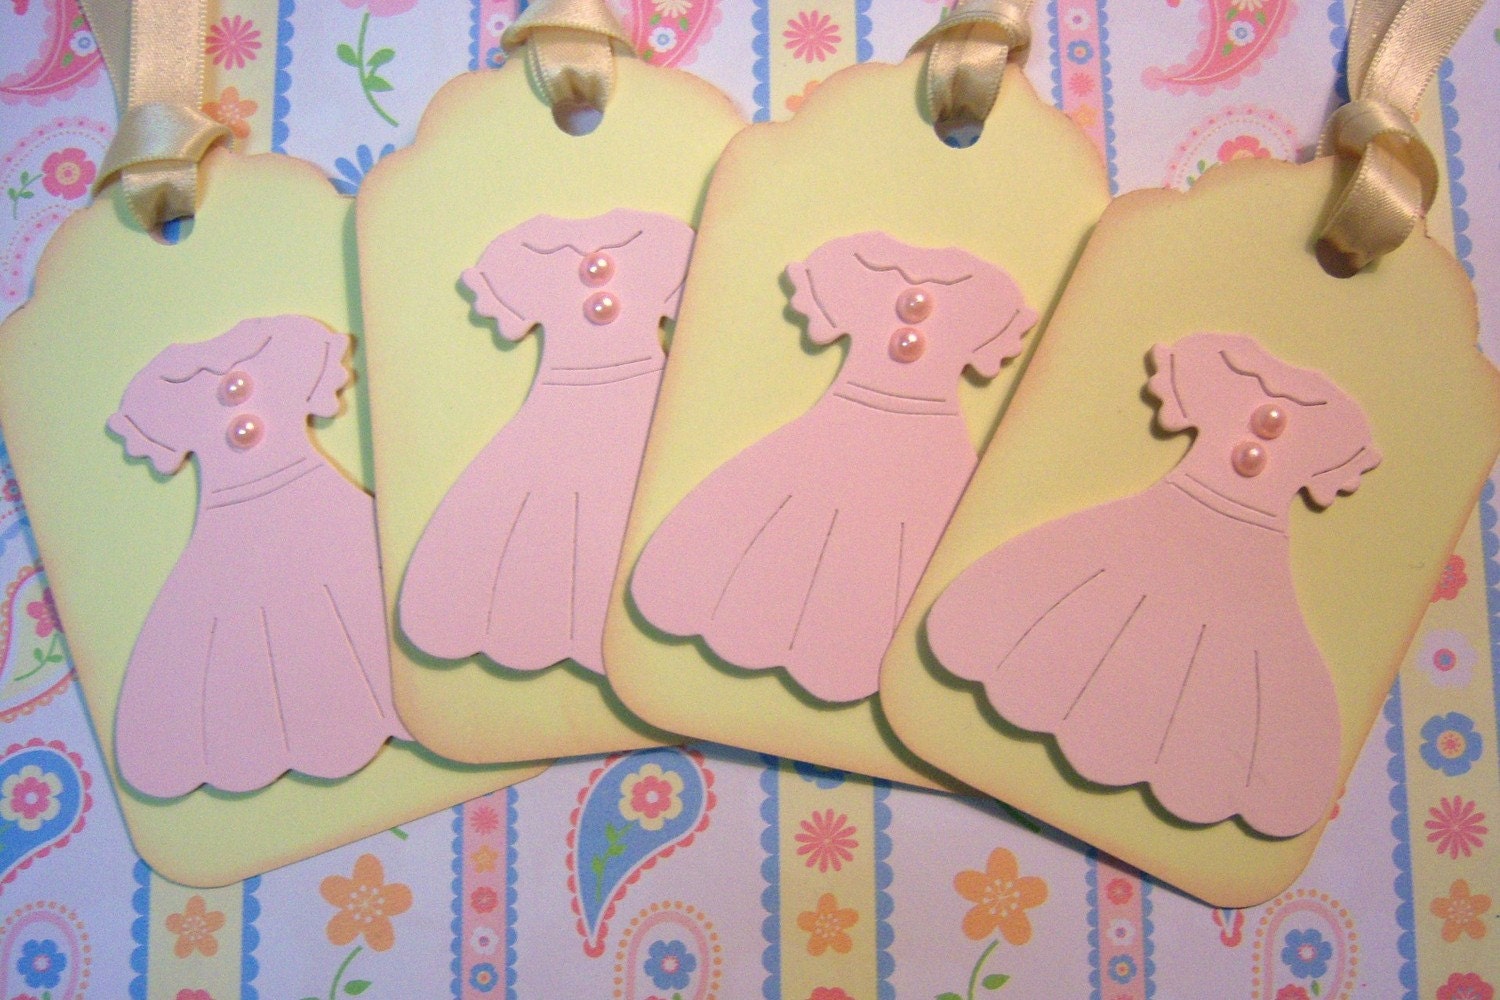
Sweet Pink Dress with Pearls 3 D Hang Tags
these have to be one of my favorite tags. I was really happy when I finished them. I love the fact that the dresses are popped off the tag and the little pearl buttons. They're simple, but I thought they were sweet.
http://www.etsy.com/listing/65528678/sweet-pink-dress-with-pearls-3-d-hang
Subscribe to:
Comments (Atom)


